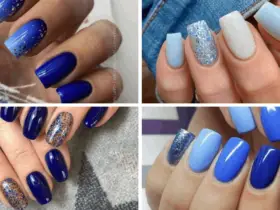
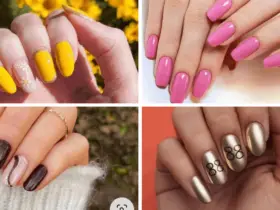
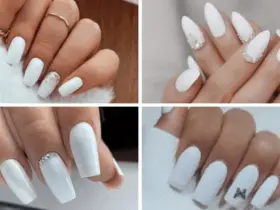
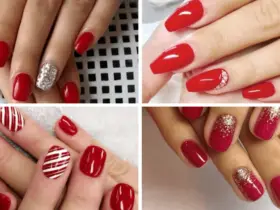
Heading back to school is always exciting, and what better way to start the new school year than with some fresh, fun nail designs? Short nails can be just as stylish and versatile as longer nails, and they’re also more practical for everyday school activities. I’ve put together a list of 31 cute and easy back-to-school short nail ideas that are perfect for teens. Whether you prefer simple designs or something more chic with gel or acrylic, you’ll find plenty of inspiration here.
Simple Stripes
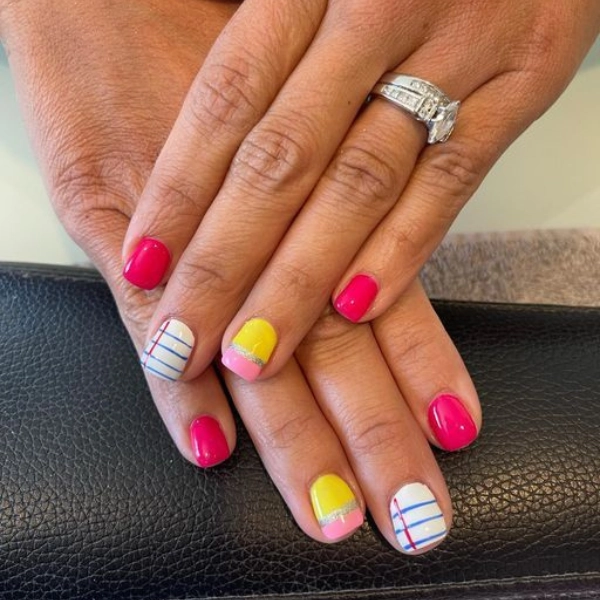
Simple stripes are always in style and super easy to create. Use two contrasting colors for a bold look.
Polka Dots
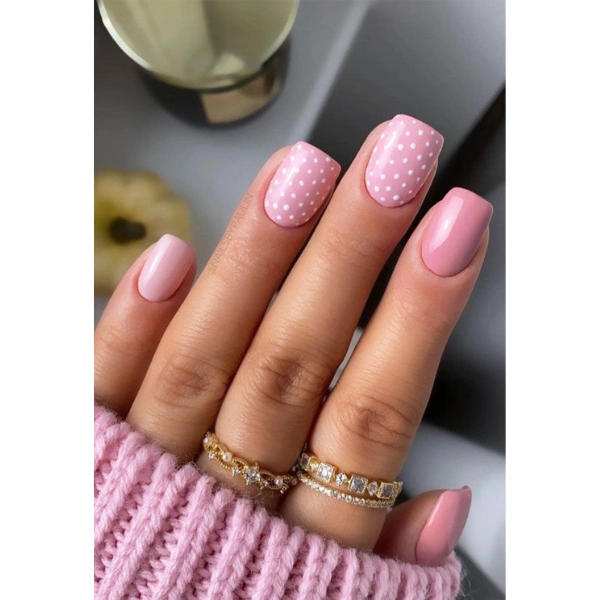
Polka dots are fun and playful. Use a dotting tool or the end of a bobby pin for perfect dots.
French Tips
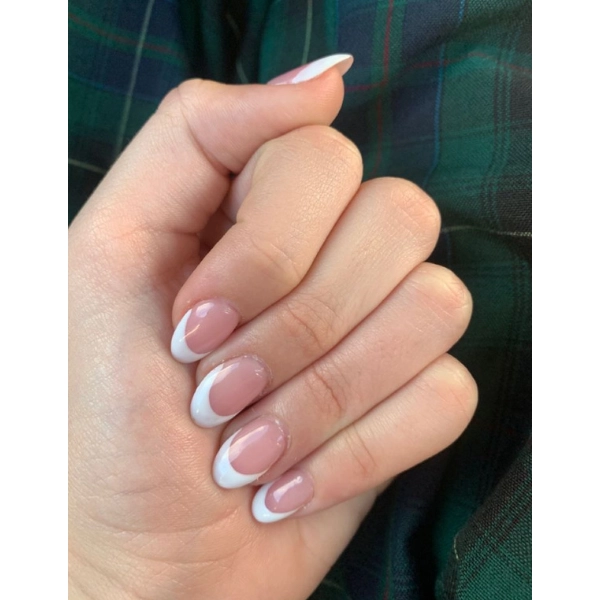
Classic French tips are elegant and go with any outfit. Try adding a twist with colored tips.
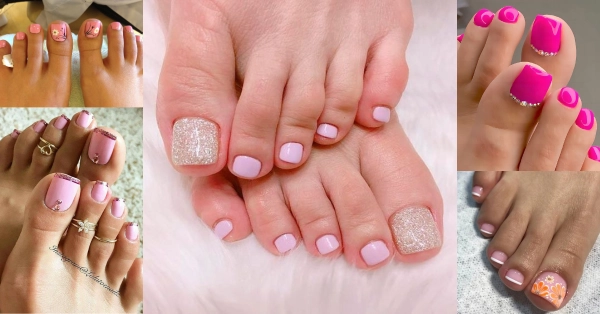
Pastel Shades
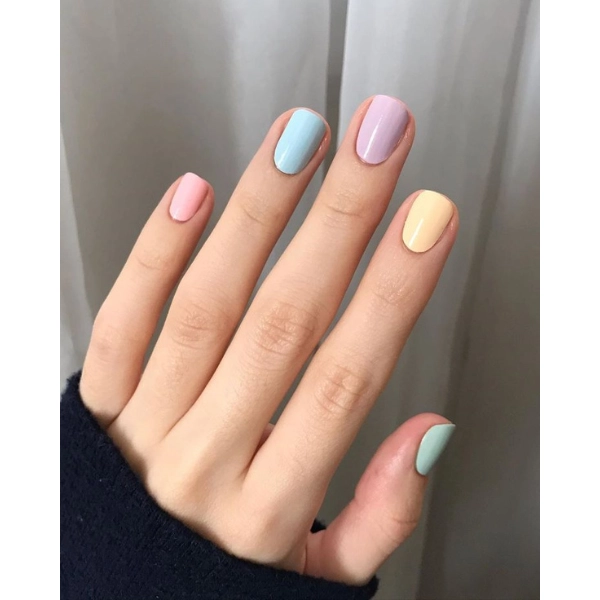
Pastel shades are perfect for a soft, feminine look. Mix and match different pastel colors for each nail.
Glitter Accent
Add a touch of sparkle with a glitter accent nail. It’s a quick way to glam up your nails.
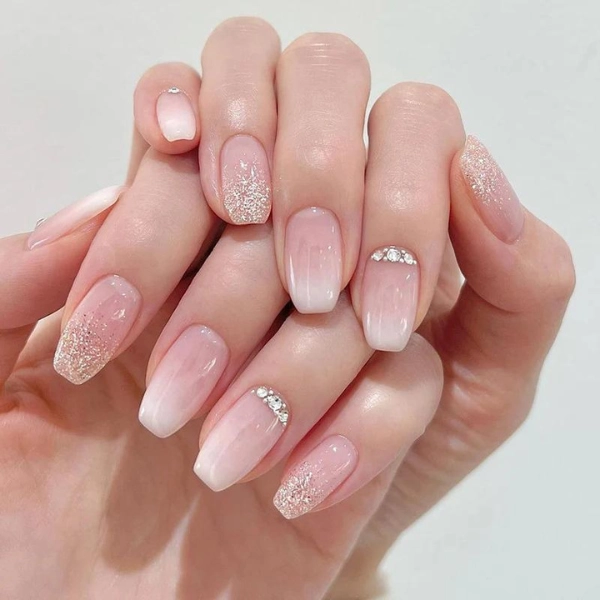
Floral Designs
Floral designs are timeless and can be simple or intricate. Perfect for a girly touch.
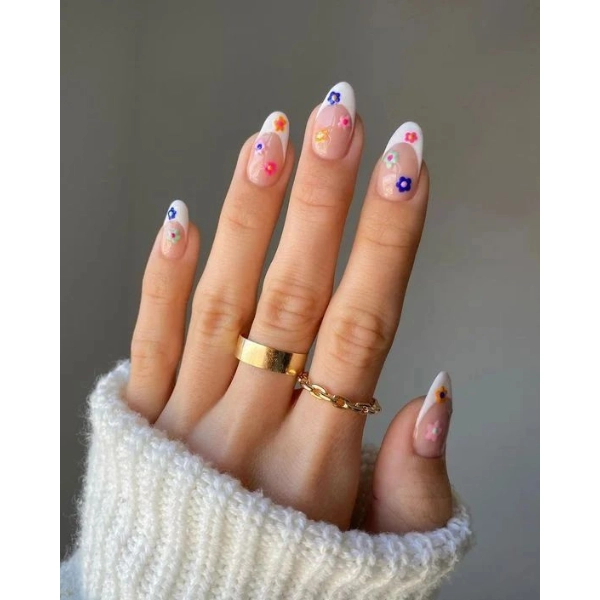
Abstract Art
Abstract designs are unique and trendy. Use different shapes and lines for a creative look.
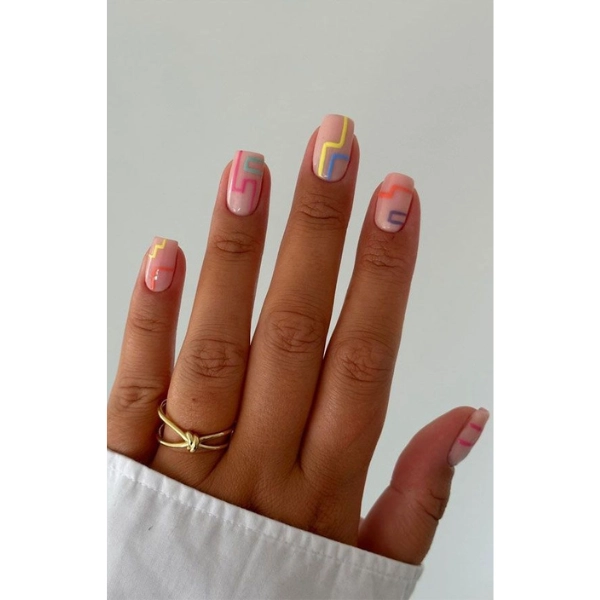
Marble Effect
Marble nails are sophisticated and easier to achieve than you might think. Swirl two colors together for a marbled look.
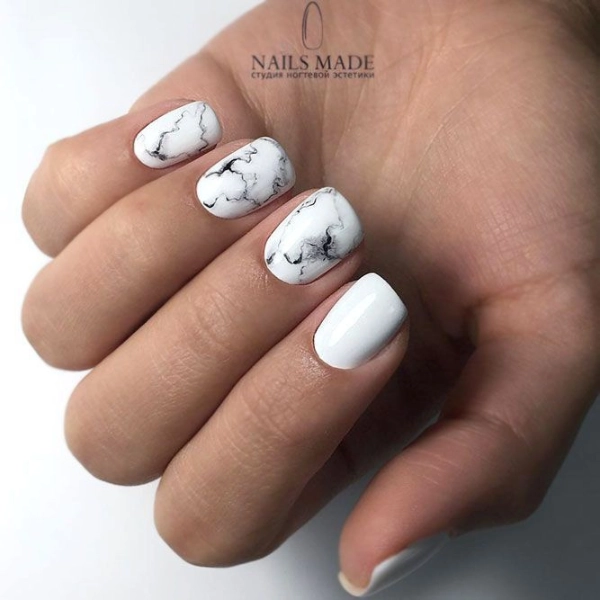
Geometric Patterns
Geometric patterns are modern and chic. Use tape to create clean lines and shapes.
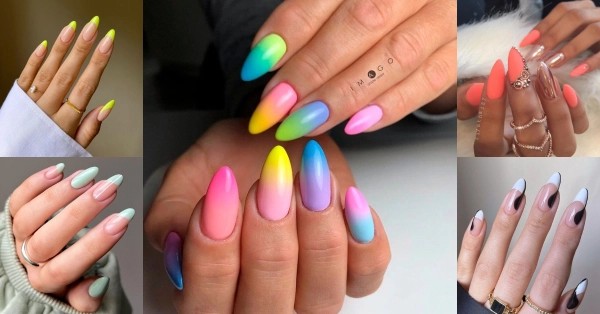
Ombre Nails
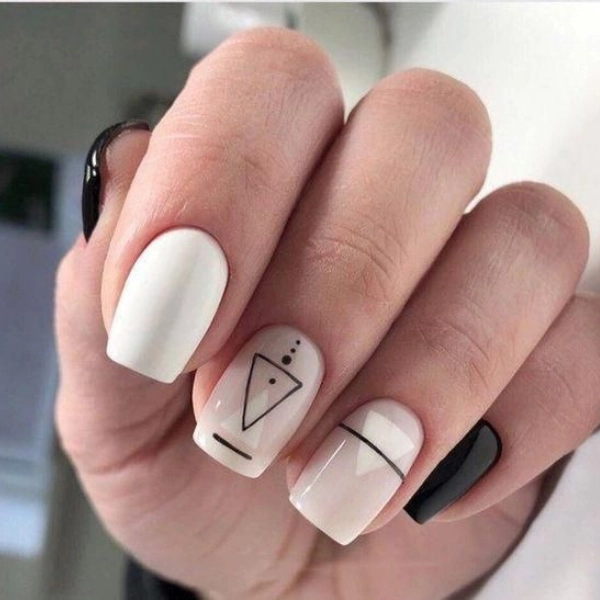
Ombre nails are stylish and can be done with any color combination. Blend two colors for a gradient effect.
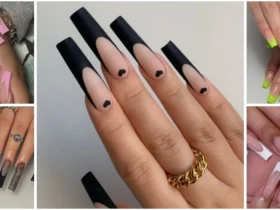
Negative Space
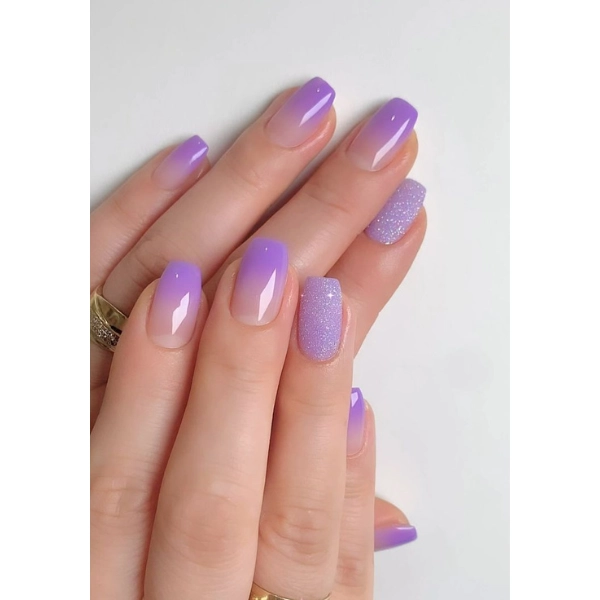
Negative space nails are minimalist and cool. Leave parts of your nails unpainted for this trendy look.
Cute Animals
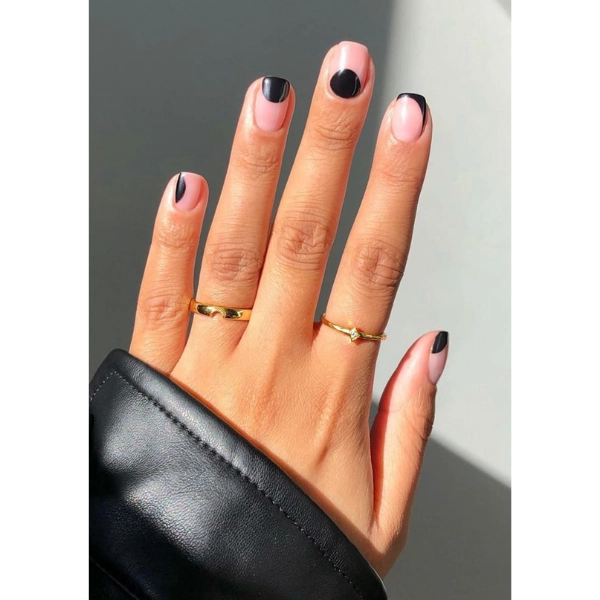
Animal designs like pandas, cats, or bunnies are adorable and fun. Perfect for showing off your playful side.
Fruit Designs
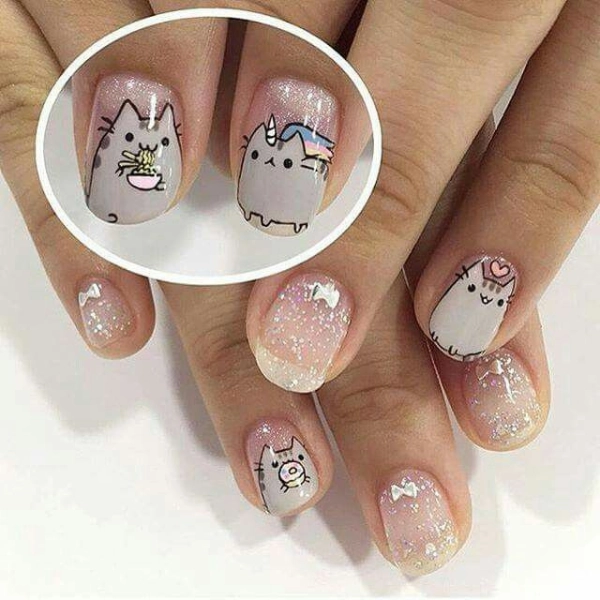
Fruit designs like watermelons or strawberries are fresh and fun. Great for a pop of color.
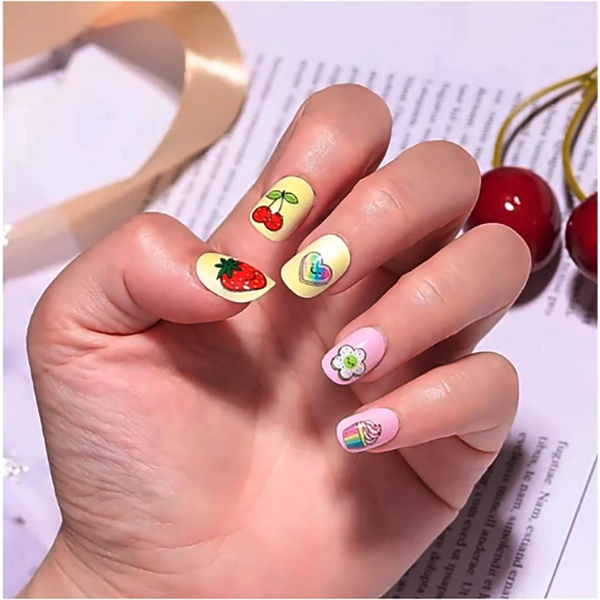
Heart Patterns
Hearts are sweet and simple to create. Use a toothpick or a small brush for precise hearts.
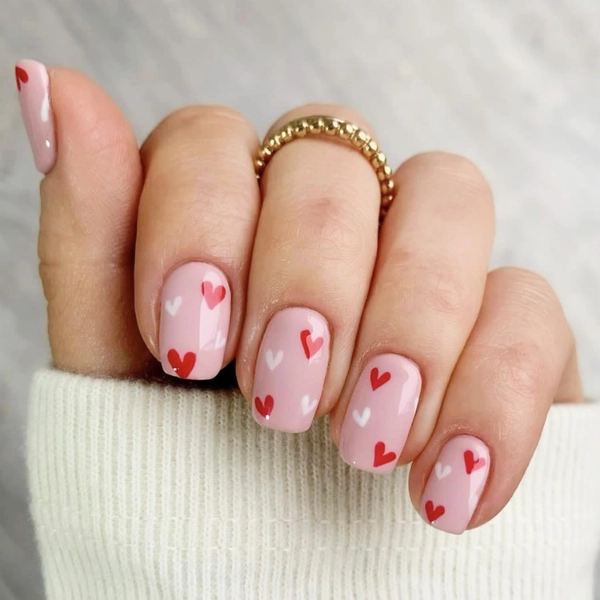
Glitter Tips
For a bit of sparkle, add glitter tips. It’s a subtle way to add some shine to your nails.
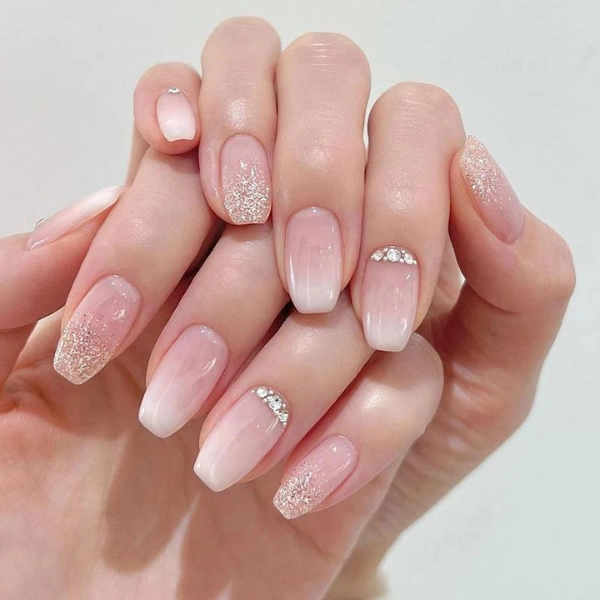
Matte Finish
Matte nails are chic and trendy. Use a matte top coat for this modern look.
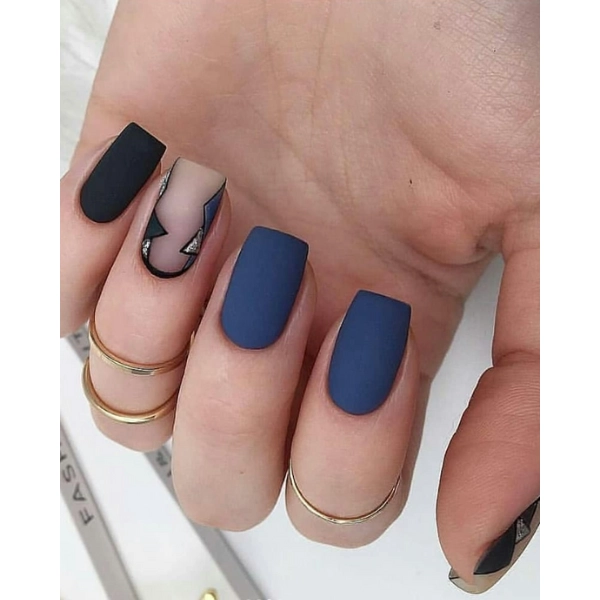
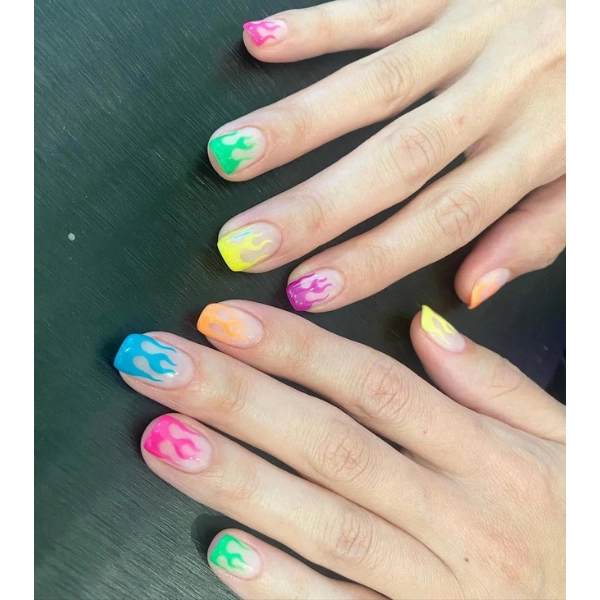
Neon Colors
Neon colors are bold and eye-catching. Perfect for making a statement.
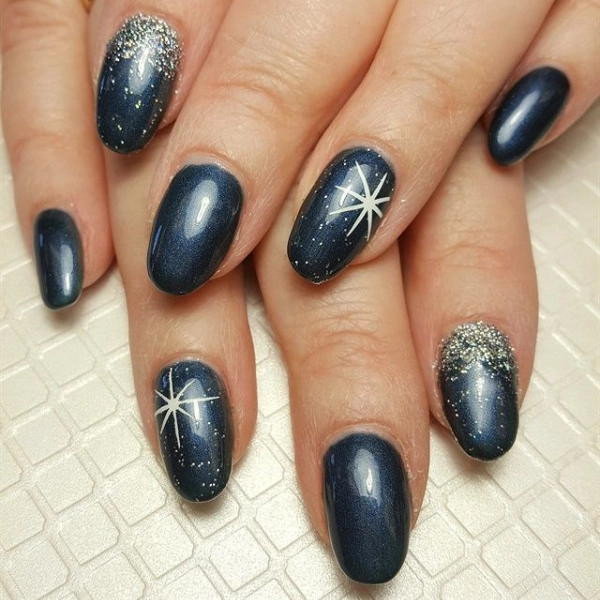
Starry Night
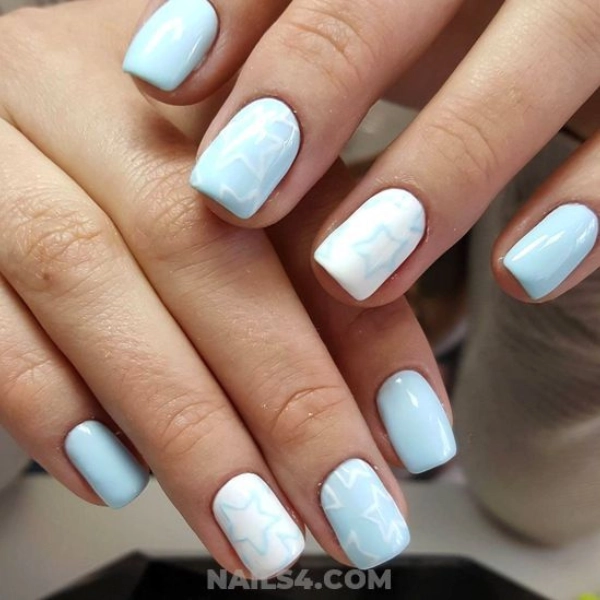
Stars and moons create a dreamy look. Use tiny stickers or a small brush for this celestial design.
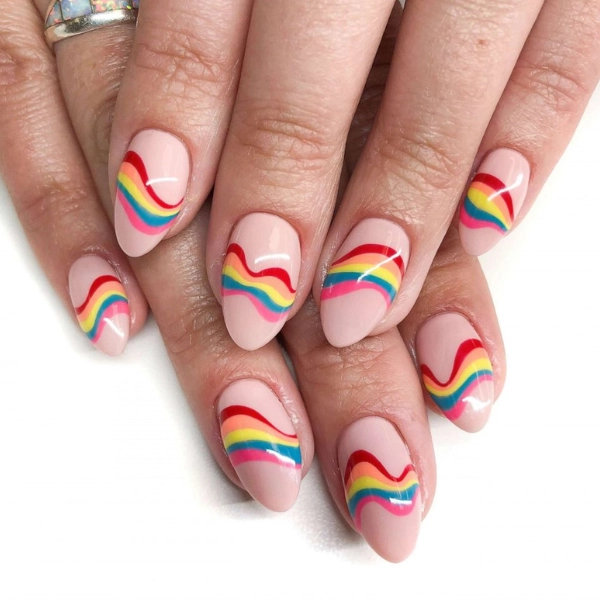
Rainbow Nails
Rainbow nails are bright and cheerful. Paint each nail a different color for a fun look.
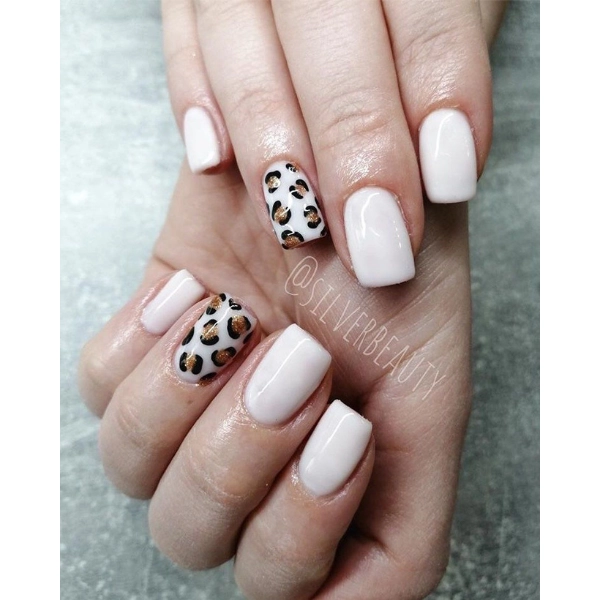
Animal Prints
Animal prints like leopard or zebra are always in style. Use a fine brush for detailed designs.
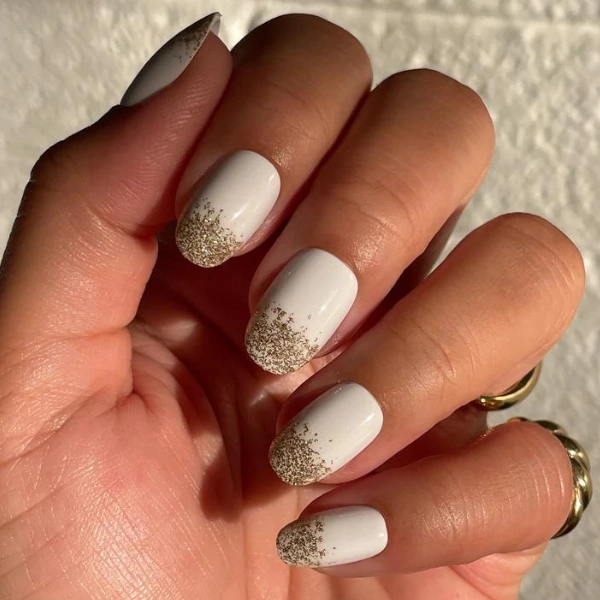
Glitter Gradient
A glitter gradient is glamorous and easy to achieve. Blend glitter polish from the tips to the base of your nails.
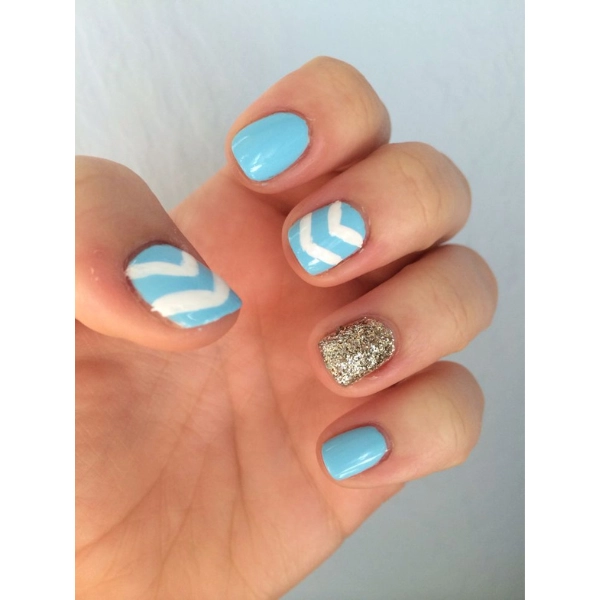
Chevron Patterns
Chevron patterns are stylish and trendy. Use tape to create sharp, clean lines.
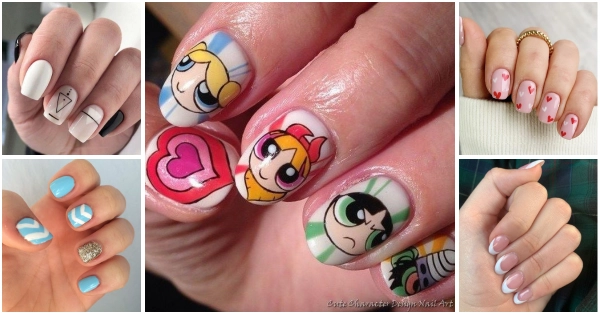
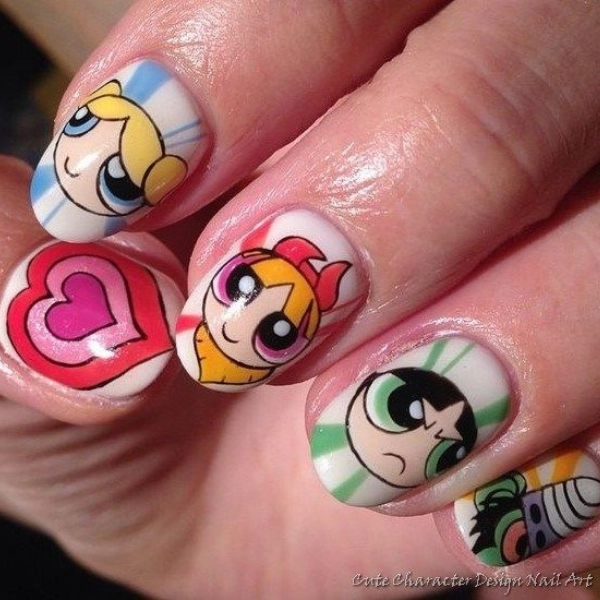
Cartoon Characters
Cartoon characters are fun and nostalgic. Show off your favorite character on your nails.
Studded Nails
Studs add a bit of edge to your nails. Place small studs at the base of your nails for a chic look.
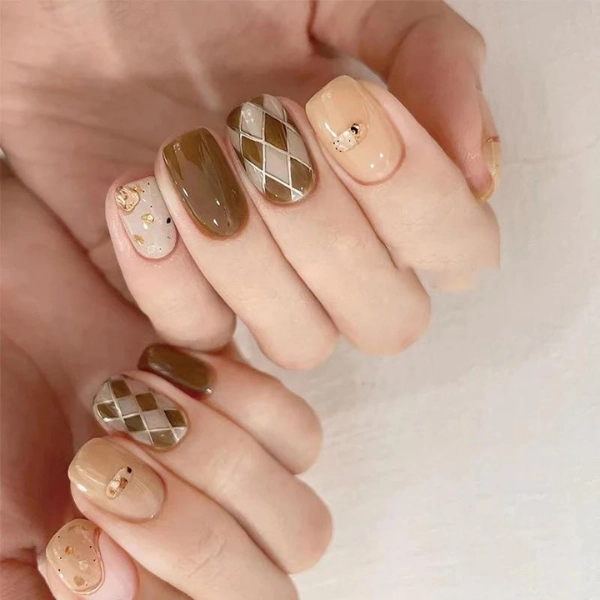
Textured Nails
Textured nails like velvet or caviar are unique and interesting. Perfect for a standout look.
Comprehensive Guide to Back to School Short Nails
When it comes to preparing for a new school year, having a set of well-maintained and stylish nails can boost your confidence and complete your look. Short nails are particularly practical for school since they are easier to maintain and less likely to break. Let’s dive deeper into some of these cute and easy ideas for back-to-school short nails.
Simple Stripes: Stripes are a classic design that can be customized with different colors and widths. For a more refined look, stick to two or three colors and vary the direction of the stripes on each nail.
Polka Dots: Polka dots can be both playful and elegant. Choose a base color and then add dots in a contrasting color using a dotting tool or the end of a bobby pin. You can create a uniform pattern or a more random look.
French Tips: The French tip manicure is timeless. For a modern twist, experiment with different colors for the tips instead of the traditional white. You can also add a thin line of glitter below the tip for some sparkle.
Pastel Shades: Pastel colors are soft and perfect for any occasion. You can paint each nail a different pastel shade for a rainbow effect or stick to one color for a monochromatic look.
Glitter Accent: Adding a glitter accent nail is an easy way to add some glam to your nails. Choose one nail on each hand to cover in glitter, or add a glitter top coat to all your nails for extra sparkle.
Floral Designs: Floral nails can range from simple daisies to intricate roses. Use a small brush or nail stickers to create your favorite flowers. A floral accent nail paired with solid colors on the other nails is always a good choice.
Abstract Art: Abstract designs are perfect for those who love to be creative. Mix and match different shapes and lines using your favorite colors. There are no rules with abstract art, so let your imagination run wild.
Marble Effect: Marble nails are chic and can be done with any color combination. Use a toothpick or a small brush to swirl two or three colors together while the polish is still wet for a marble effect.
Geometric Patterns: Geometric patterns like triangles, squares, and hexagons are trendy and stylish. Use nail tape to create clean lines and precise shapes. You can keep it simple with one shape per nail or mix different shapes.
Ombre Nails: Ombre nails create a beautiful gradient effect. Choose two colors and blend them together using a sponge. You can go from light to dark or mix contrasting colors for a bold look.
Negative Space: Negative space nails are a minimalist trend where parts of the nail are left unpainted. You can create different designs by leaving gaps in the polish, such as stripes, triangles, or half-moons.
Cute Animals: Animal designs are fun and can be customized to your favorite animal. Use a fine brush to paint details like eyes, noses, and whiskers. An animal accent nail paired with solid colors is adorable and playful.
Fruit Designs: Fruit nails are vibrant and fresh. Watermelons, strawberries, and pineapples are popular choices. Use bright colors and a fine brush for detailed designs.
Heart Patterns: Hearts are simple yet sweet. Paint tiny hearts using a small brush or create a heart accent nail. You can also mix hearts with other patterns for a unique look.
Glitter Tips: Adding glitter tips is an easy way to glam up your nails. Apply a glitter polish to the tips of your nails, or use a glitter top coat over a solid color for a subtler effect.
Matte Finish: A matte finish is modern and sophisticated. Use a matte top coat over any polish color for this trendy look. Matte nails look especially good with dark or pastel shades.
Neon Colors: Neon colors are bold and eye-catching. Perfect for making a statement, neon nails are great for those who love vibrant colors. Mix and match different neon shades for a fun look.
Starry Night: Starry nails are dreamy and whimsical. Use a dark blue or black base color and add tiny white or silver stars. You can use stickers or a fine brush to paint the stars.
Rainbow Nails: Rainbow nails are bright and cheerful. Paint each nail a different color of the rainbow or create a rainbow gradient across all your nails. This look is fun and uplifting.
Animal Prints: Animal prints like leopard, zebra, and snake skin are always in style. Use a fine brush to paint the details or opt for nail wraps for a quicker application.
Glitter Gradient: A glitter gradient is glamorous and easy to achieve. Start with a solid base color and apply glitter polish from the tips, blending it down towards the base.
Chevron Patterns: Chevron patterns are stylish and trendy. Use nail tape to create the zigzag lines and paint in between with different colors. This pattern looks great in bold colors or pastels.
Cartoon Characters: Show off your love for your favorite cartoon characters with themed nails. Use a fine brush to paint the details or find nail stickers of your favorite characters.
Studded Nails: Studs add a bit of edge to your nails. Place small studs at the base of your nails or create patterns with them. Studded nails look chic and modern.
Textured Nails: Textured nails like velvet or caviar add an interesting element to your manicure. Apply a textured polish or add small beads for a unique look.
Color Block: Color blocking is modern and bold. Use tape to create different sections on your nails and fill each with a different color. This look is great for those who love bright, contrasting colors.
Metallic Finish: Metallic nails are futuristic and sleek. Choose metallic shades like silver, gold, or rose gold for a polished look. Metallic nails are perfect for making a statement.
Minimalist Dots: Tiny dots are minimalist and chic. Use a dotting tool for precise, small dots and keep the rest of the nail simple with a neutral base color.
Striped Tips: Striped tips are a twist on the classic French tip. Use multiple colors for the stripes and keep the base of the nail neutral for a modern look.
Holographic Nails: Holographic nails are mesmerizing and trendy. Choose a holographic polish for a stunning effect that changes with the light. Holographic nails are perfect for adding a touch of magic to your look.
Tie-Dye Nails: Tie-dye nails are fun and colorful. Use multiple colors and swirl them together for this retro look. Tie-dye nails are perfect for those who love a bold, artistic style.
FAQs
What are some easy nail designs for beginners?
For beginners, simple designs like polka dots, stripes, and glitter accent nails are easy to create and look great. Using stickers and nail wraps can also simplify the process.
How can I make my nail polish last longer?
To make your nail polish last longer, start with clean, dry nails. Use a base coat, apply thin layers of polish, and finish with a top coat. Avoid soaking your nails in water for long periods and use gloves when doing household chores.
What is the best way to remove gel polish from short nails?
The best way to remove gel polish is to soak cotton balls in acetone, place them on your nails, and wrap each nail in foil. Let them sit for about 10-15 minutes, then gently push off the polish with a cuticle stick.


